Amazon webstore is an ecommerce solution that allows you to build a fully customized site incorporating your brand and design that using amazon technology as a platform. You are provided with a store design and then you can customize the look, style and features to create your own unique brand. Amazon webstore provides templates, widgets, drag and drop interface and inventory management tools to manage your webstore site.
To make the process of setting up your webstore inventory easier for you. When you choose to add an amazon webstore site to sell on amazon account, we automatically import your entire existing inventory into your site. This means when your new site has been created, you will be able to sell your products on Amazon.com site and can also sell those products on your own webstore. You can use your own domain name for your webstore site and can choose whether to use Amazon.com checkout, your own branded checkout or both.
In the background, Amazon provides a reliable server infrastructure that securely handles transactions for you. In order to organize your products on your webstore site, you need to categorize a structure that displays your products to your customers, and your products need to be assigned to the appropriate categories. To make it easier for you set up categories, we offer optional automatic categorization feature that runs when you set up the webstore account. Your category tree is created based on the types of products being imported and we show you the category tree for your approval. Then after your approval, we automatically assign all of your products to the approved categories.
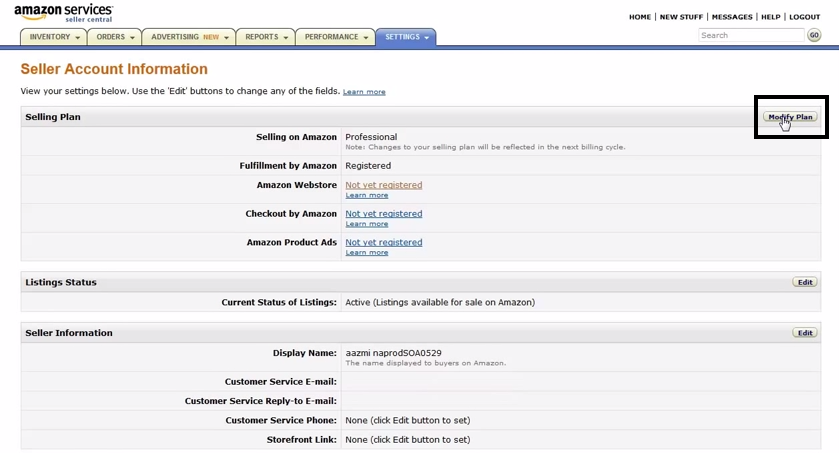
To start the process, log on to your seller amazon account. Click “Settings”, then “Account Info”

In the Selling Account Information page, click “Modify Plan” Option.
In this page, you can sign up for section, just click on “Agreement”

Read the terms and conditions of setting up the webstore account. Close the terms window, and check the checkbox that indicates the terms and conditions, then click “Subscribe”

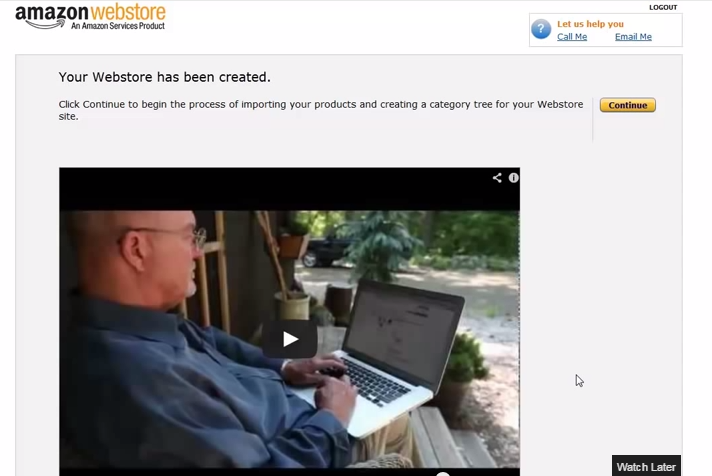
After this, you are now registered for a webstore account. It takes 2 sec to create your webstore. Then, your webstore has been created.

To proceed further, click “Continue” button. Your new webstore accounts opens to the Manage inventory pages with the message showing your products have been imported. The product category dialogue box appears asking you to design whether you want the software to automatically create product categories for you and then to assign the products to the categories.
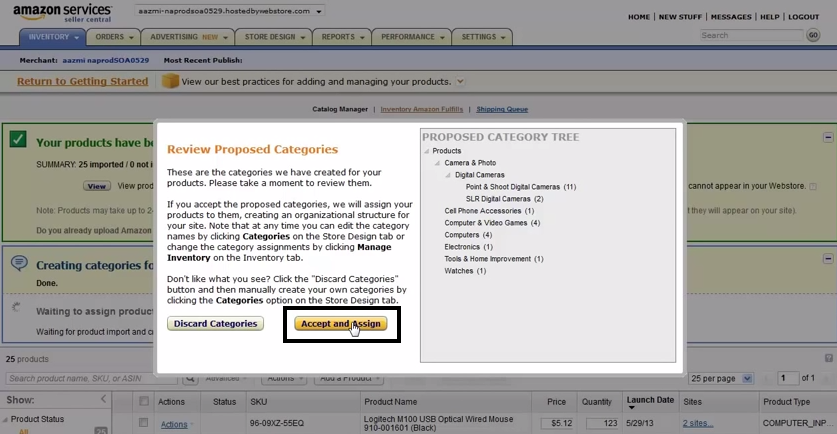
Click to “review before assigning” button which means you will be given a chance to review the tree suggested by amazon and then decide whether you want to use it. While the created are create, the progress bar that shows where you are in the process. If you click the option to review the categories before having products assign to them, the Review proposed categories dialogue box appears. It shows a visual representation of the category tree that is being proposed. You can choose to discard the proposed categories you don't like or accept and assign the categories to your products.
Keep in mind that at any point, after this process completes, you can edit your category and make changes to product assignments. Click “Accept and Assign”
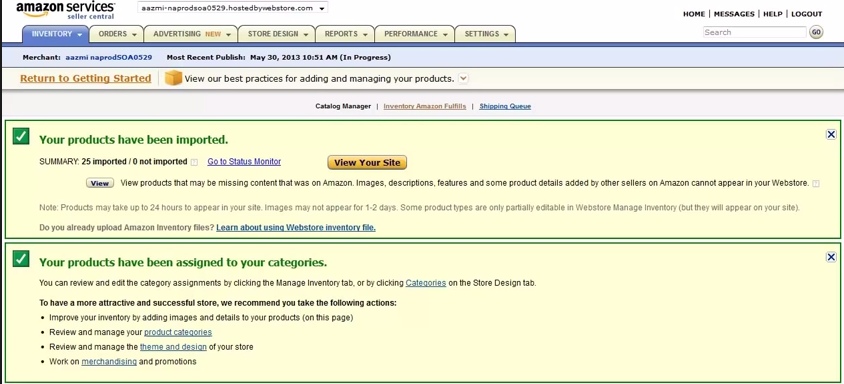
The process will be done in just 2 seconds and you can view it on your screen. Now you need to configuring and designing your webstore.
Use the webstore templates and tools to design your webstore pages, customize the default content, and configure required settings and then watch your webstore public.